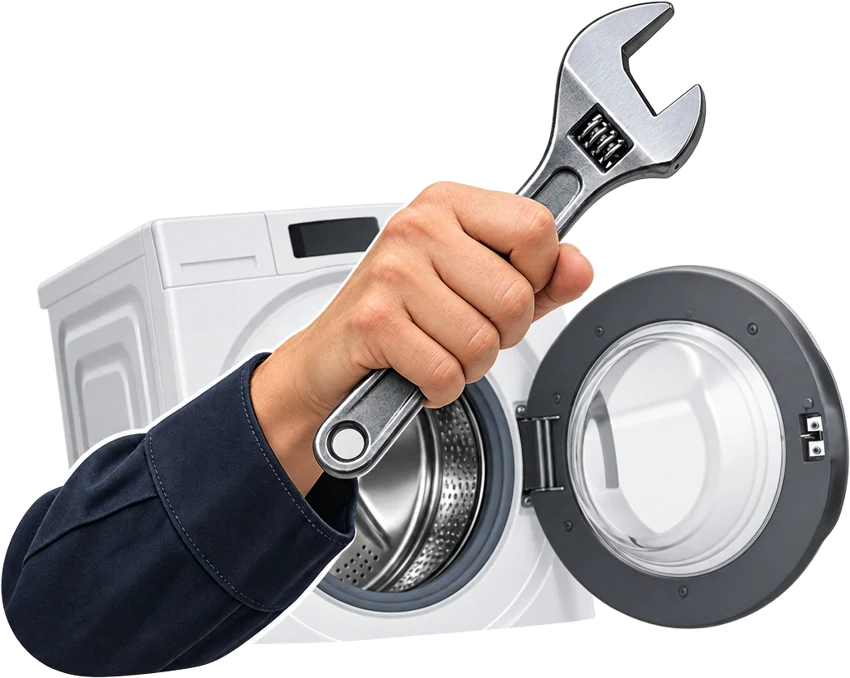
how to identify a washer door seal with a fitted nozzle
a door-area leak needs its source confirmed before a seal is ordered. trapped clothing or debris can look like a rubber fault.
the linked 00361127 / 361127-style seal is grey and smooth-profile, without extra spray holes. its pipe/nozzle is already fitted; retaining bands are not included.
- repair type
- technician service
- difficulty
- moderate
scope: do not remove bands for identification. the WFO2060AU/01 note calls for drain openings at the bottom and tub-side lip before front-panel lip under its repair instructions; do not transfer that sequence to unverified models.
diy warning
working on appliances can involve mains electricity, water and moving parts. always disconnect power and water before you start. in Australia, gas work must be done by a licensed gasfitter, and fixed (hard-wired) electrical work by a licensed electrician. everything on this site is guidance only, and any repair you carry out is at your own risk. we are not responsible for any damage or injury caused by attempting a repair. if you are not confident, please use a qualified technician.
i agree, show repair advice
steps
- stop the leak
stop using the washer, turn off the tap and unplug only from a dry, accessible point. don't open a hot or water-filled door.
- show the damage
once it is cool and safely empty, inspect the visible rubber and door glass for trapped clothing, debris or a split. photograph the damage and full model label without removing the bands.
- arrange the seal repair
check the full model revision on the product page. have the technician confirm the leak and compare the smooth profile, nozzle and ports; stop if the ports differ. use the right undamaged bands, and don't stretch, cut or alter a seal that won't seat.
- check after repair
have the technician confirm that the seal sits evenly and the door area doesn't leak after reassembly.
think you can improve this guide? help us